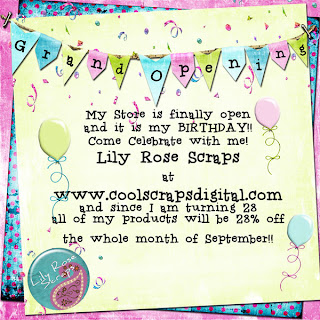
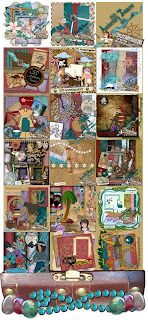
 It is also CSD's birthday and they have lots of fun stuff going on this month! Including a blog train, lots of sales and a treasure hunt! Here are some previews...
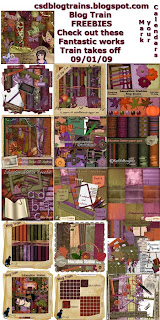
You can find the blog roll for the train HERE and be sure to stop by CSD to find out about all of the other goodies!
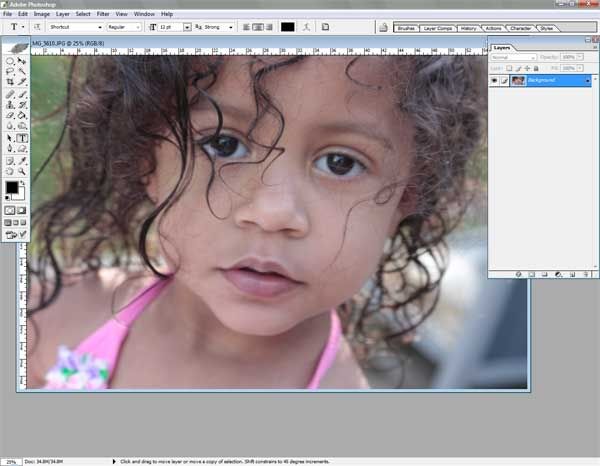
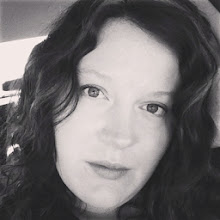
OK now for my first ever tutorial!! This is going to show how I do the soft color efect that the pictures in my header have been treated with. This is created using Photoshop CS so I am not sure how it will relate to other programs but the general process I am sure can be duplicated. I am going to use my favorite picture of my oldest baby girl as an example. So first you want to open and resize. I like to use a 4x6 to start with most layouts so that is what this is set too. Here is your first screen...
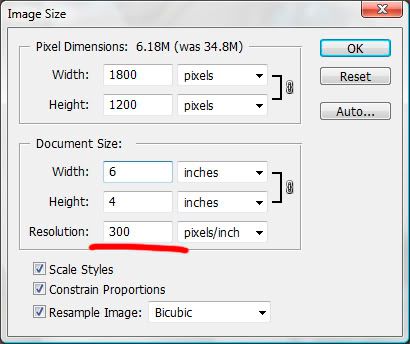
now you want to go to Image>Image size and use these settings for a print resolution picture.
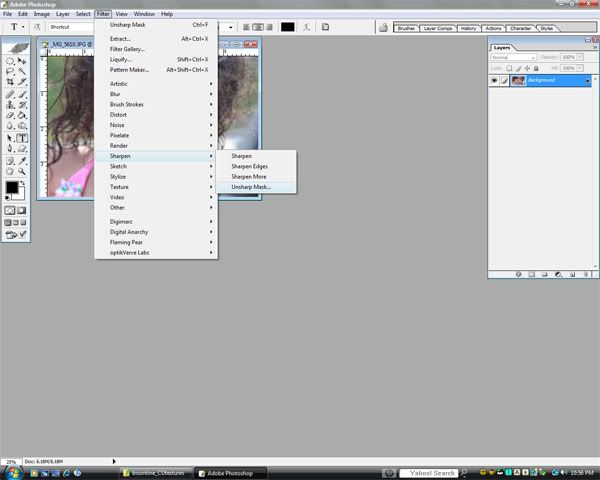
next I like to sharpen a little so I go to filter>sharpen>unsharp mask...
Now I like to keep the amount low and use the radius to do maost of the sharpening to avoid over pixilating. The settings I used here are amount=40, radius=4.0, and threshold=0.
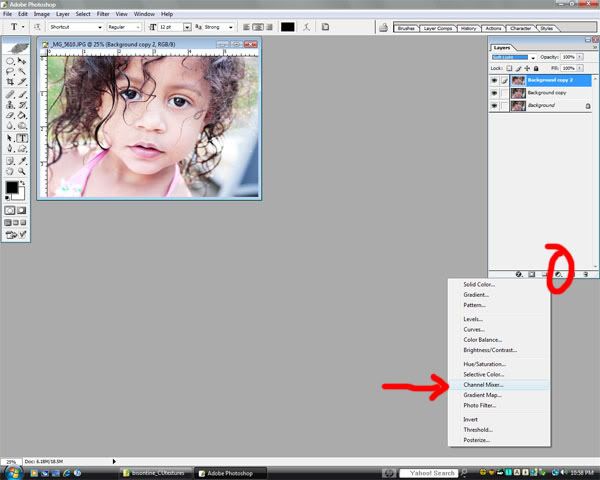
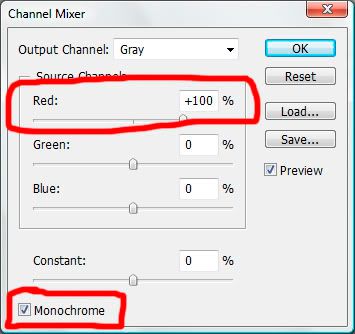
The next step is to duplicate the picture 2 times so that you end up with 3 copies of the same picture. You can either right click and select duplicate layer or you can go to Layer>Duplicate Layer. Now you go to your second layer and change the blending mode to screen and then to the top layer and change the blending mode to soft light. After this select the circle at the bottom of the layer pallete and choose chanel mixer. Your screen should look something like this...
Now check the monochrome box at the bottom and I always use 100% red channel because of the soft glowy look it gives skin in portraits but you can experiment with different % in each channel if you would like. Here is what my box looks like...
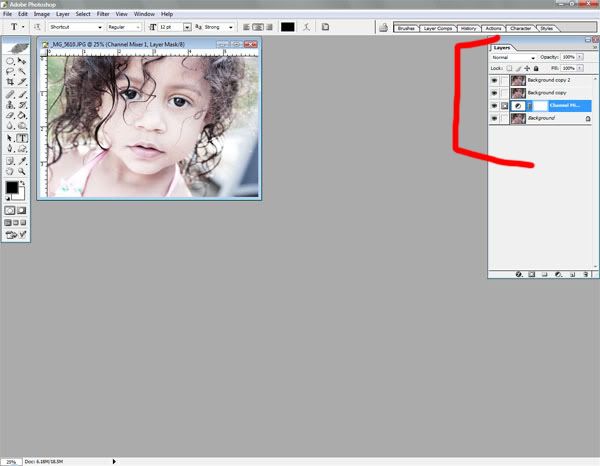
Now finally take the channel mixer layer and pull it down below both of the duplicate layers. Now you can adjust the opacity on the top two layers to get the look you are going for and you are done! Here is the final screen and you can also see the final picture in my header also.
 I also made an action of my steps for this tutorial and I am giving is away as a participation prize in my brand new photogrpahy challenges at both scrapbird.com and coolscrapsdigital.com. Be sure to go by and join in the fun to get the action for free! Hope you enjoyed and as always have a great day and happy scrapping!!


No comments:
Post a Comment